Manage groups
Summary
Groups represent a set of related users within your organization, such as a team or a department. Groups in Safety Made Simple let you manage the training for large numbers of users effectively.
Access permissions
Admins have full access to groups to create and manage them. They assign managers to groups.
Admins turn on specific permissions related to groups for each manager.
Background
Once you create your group, more options become available in the secondary navigation, like General, Courses, Users, Managers and Leaderboard.
Tip: The term manager in Safety Made Simple applies to a user who manages a group within the portal. These users have specific permissions associated with the group they manage. The manager user type is not inherently linked to management roles within your organization.
View group courses
See which courses a group is enrolled on.
- From the main navigation menu, select Groups > your group name.
- In the secondary navigation, select Courses.
- If required, use the secondary search to find a course in the list.
The following screenshot shows the Groups secondary navigation for Courses.

Delete group courses
Also called unenrolling a group from a course, this process removes the course from the list of enrolled courses for a group.
For learners, the course no longer appears on the learners' dashboard.
This step does not delete the course from the catalog or the portal, and does not delete the group.
This step mainly affects learners with Not Started or In Progress statuses on the course.
If learners have finished the course (Completed, Passed or Failed), the course result stays in their learning history.
In this process, you choose how to handle the learners who are still on the course: let learners finish the course they started or remove the course even if they're not finished.
- From the main navigation menu, select Groups > your group name.
- In the secondary navigation, select Courses > your course name. Use secondary search as required.
- From the Course card select More (aka 3-dot menu) > Delete.
- In the dialog box, select one of:
- Let users finish the course or
- Unenroll "Not started" and “In progress" enrollments. “Completed", “Passed" and “Failed" enrollments will remain on the learner's records. NOTE: This may cause some unhappy users!
- Select Save to finish.
The following screenshot shows the step of deleting a course from a group.

Add user and invite users to a group
To Add a user, go to Groups > your group name > Users > Actions > Add User. Search and select users from the list so they populate in the box at the top. Click on Add to Group.
To Invite a user, go to Groups > your group name > Users > Actions > Invite Users. Insert email addresses separated by comma for those you wish to invite. Click on Invite.
Manage invites to a group
Options for resending the invite or sending it from a different address.
- From the main navigation menu, select Groups > your group name.
- From the secondary navigation, select Users.
- From the Total number of users filter, select Pending Users.
- Select User > More (aka 3-dot menu), then select one of:
- Remove: cancels the invite sent to a user to join a group, and removes the user from the pending list. In the dialog that opens, select Yes to confirm,
- Resend: send another automated email invite to the same address.
- User not getting email? In case the automated invite bounces or gets identified as spam: opens a dialog box with a URL to accept the invitation. Send this URL to the user from your email address.
The following screenshot shows the menu options for managing an invite for a pending user.
We recommend you Add users instead of Invite users.

Remove an invite
This step cancels an invite, sent to a user to join a group, or removes a user from the pending list.
- From the main navigation menu, select Groups > your group name. Use secondary search as required.
- From the secondary navigation, select Users.
- From User > More (aka 3-dot menu) > Remove.
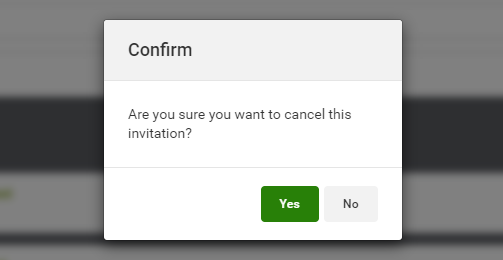
- Select Yes to confirm.
The following screenshot shows the confirmation dialog for cancelling an invitation.
View users in a group
- From the main navigation menu, select Groups > your group name. Use secondary search as required.
- In the secondary navigation, select Users to view a list of the group members.
- Use the secondary search to find an individual user.
- Optionally: select the user's name to view their profile.
View and add managers to a group
- From the main navigation menu, select Groups > your group name. Use secondary search as required.
- From the secondary navigation, select Managers to view a list of managers for the group, and each manager's permissions.
- Select Add Manager to Group.
- Enter the manager's name or email to find them.
- Select the manager and Save to finish.
 Note: to add a manager, the user must have a Manager user type. If you search and cannot find a person to add as manager, confirm that their user type is correct.
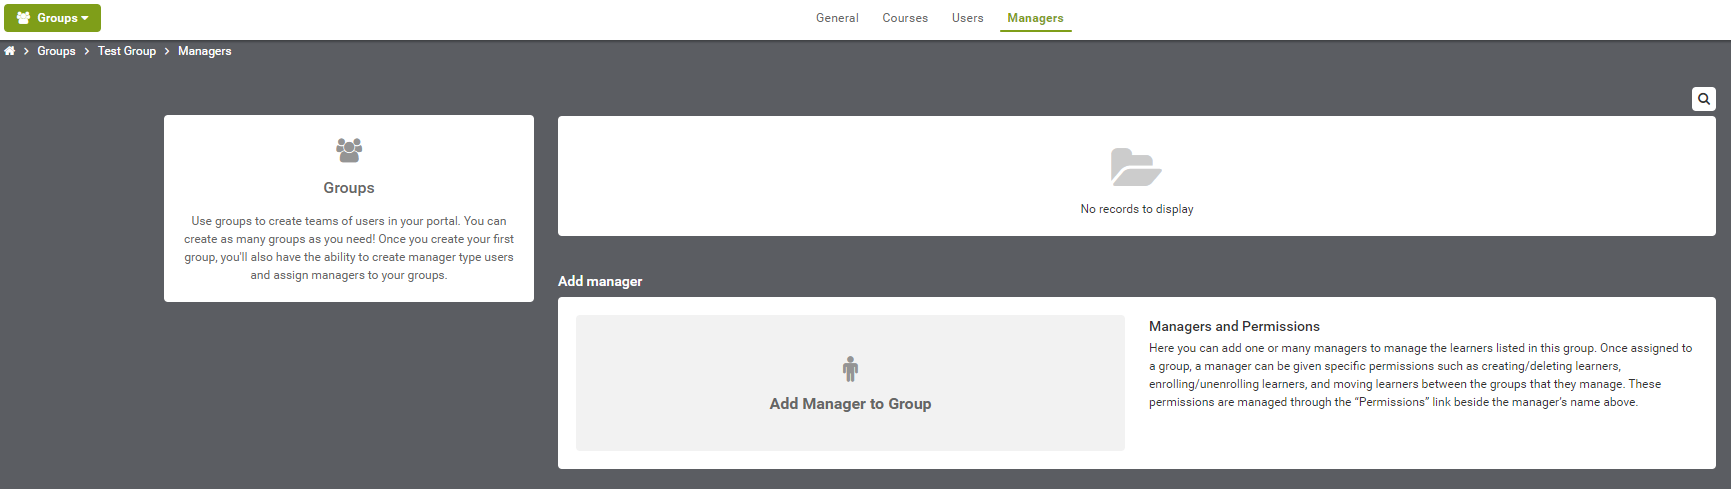
View and filter a group leaderboard
1. From main navigation select Groups > your group name.
2. In
the secondary navigation, select Leaderboard.
3. Using Filter Leaderboard options to limit the results.
The following screenshot shows a sample leaderboard
for a group called Maintenance.
Related Articles
Admins: set manager permissions to manage groups
Intended Audience: Administrators Summary The Manager user type has flexible permissions, so you can tailor a manager's involvement in training their group. Manager permissions apply to users within the manager's groups. The permissions do not apply ...Admins: Dynamic rules: use custom user data or email domain to assign users to groups
Intended Audience: Administrators Summary Use email domains, account creation date and custom user data to filter your users into groups, as soon as you create them. Dynamic rules can both add and remove users based on changes in their data. Creating ...Group your users
Intended Audience: Administrators, Managers Summary Safety Made Simple lets you create groups, and assign users to groups, to manage training for large numbers of learners. Groups can represent departments, teams, work sites, or partners. Groups are ...Admins: User types and permissions: overview
Intended Audience: Administrators Learn the four broad user types and their permissions within Safety Made Simple. User types define what features users can access. You set the user type when you create or invite users. The 4 user types are: ...Admins: Batch user upload: overview and options explained
Intended Audience: Administrators Summary Create, invite or update data for large numbers of users by uploading a CSV file: this article covers the feature, and its options in detail. The batch user upload feature is an effective tool for admins to ...