Create and edit banner images for email notifications
Intended Audience: Administrators
Summary
Upload up to 10 banner images per portal, to add your brand to your automated messages, and to custom email templates.
You can assign different banners for different courses. When Safety Made Simple sends automated messages about a specific course, the email includes its assigned banner.
Prerequisites
To use banners in email templates, you must enable custom email templates in Settings > Email > Custom Email Templates. Banners are not available for default email templates.
If you set a default banner, you can add this banner in your custom email templates, with the variable {{banner_image}}

Tip: for email, you need to downsize your high-density images so that your email messages aren't slowed down by a large image file. Safety Made Simple limits email images to 500KB, aka 0.5MB.
Add a banner
- From main navigation go to Settings > Email> Email Banners.
- From Actions, select + Add Banner.
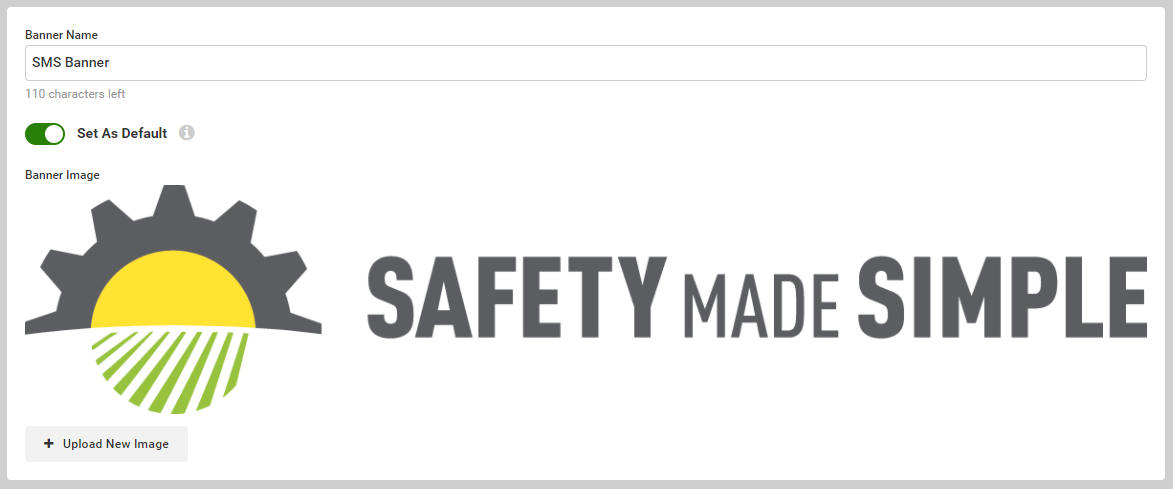
- Enter a Banner Name, select Set As Default (optional), and select + Upload Banner.
- Select a file to upload, > Open. Safety Made Simple opens the image crop tool for you to resize the image, and add alt-text to describe the image.
- Save & Upload to finish.
Remove a banner
- Select Settings > Email> Email Banners.
- For the banner you want to remove, select More(aka 3-dot menu) > Delete.
- In the dialog box that opens, select Yes to confirm.
Edit a banner
- Select Settings > Email> Email Banners.
- Select More(aka 3-dot menu) > Edit.
- The banner page opens where you can make the following changes:
- edit Banner Name.
- select Set As Default: a default provides the banner for all courses, unless otherwise specified
- Delete the banner
- Upload New Image to change the image
- Save to finish.
 Note: When you Upload New Image to an existing banner, the banner image changes for all courses which use the banner.
 Related Articles
Manage custom email templates
Intended Audience: Administrators Summary Custom email templates let you tailor the content of your Safety Made Simple email notifications. You can include custom text in your notifications, providing details beyond the default message. Default email ...Add images from the library to your custom email templates
Intended Audience: Administrators Summary Add brand images to your custom emails to users: upload images, and resize them using HTML. This 2-step method requires: uploading an image to your Library makes the image available across the portal and ...Email deliverability: best practices to avoid email bounces
Intended Audience: Administrators Summary If your portal's automated email messages cause too many hard bounces, Safety Made Simple disables your outbound mail, until you can resolve the problem email addresses. About Safety Made Simple email Safety ...Email: set up SMTP to connect to a custom email server
INTENDED AUDIENCE: Admins Summary Set up SMTP to send portal notifications through an email service like Amazon SES, Sendgrid, or other similar provider. Contact your Customer Support Manager to consider if SMTP to a custom email server to help your ...Messages and email: set options for the portal
Intended Audience: Administrators Summary Set the options for messages sent within your portal. Messages keep learners, managers and instructors up to date about courses, assignments and enrollments. Messages include: automated notifications messages ...