Create a resource
Resources let you make content, such as documents and videos, available to your learners, outside of a course enrollment. Resources are shared through the library, or by a direct link.
Resources provide learners quick access to items like manuals, videos and studies for reference, without repeating a course.[CT1]
You can make resources easier to find by adding portal categories, by adding tags and by turning on Show on resources tab? option.
Note: At least one resource in the portal must have Show on resources tab? Setting turned on before the Resources tab is available to learners.
To use categories with resources, you need to set up categories for the portal.
You can also restrict access to resources to specific groups.
Files uploaded as a resource must:
· use an allowed file type: if your file format is not on the list, you can upload your files as a .ZIP file
· be 500MB or less in size
Create a resource
The required steps are to create a resource and upload a file. The file description and all the access settings are optional.
1. From the main navigation, go to Library > Resources.
2. From the action menu select Add resource.
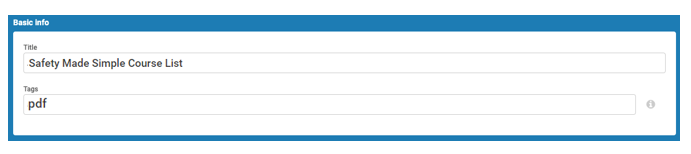
3. Enter:
· Title: The name of the resource, visible to learners
· Tags (optional): A comma separated list of tags or keywords that is searchable for learners looking for resources
4. Save to open the next section
Upload a file and set access options
1. From Resource File select Upload File.
2. Select a file from your computer to upload. [CT1] Your upload is complete when you see the file name and size in Resource file.
3. Select Add Description to enter a text description. This description is visible to learners if you make the resource available through the Resource tab.
4. From Accessibility, turn on Show on resources tab to make the resource available to learners on the portal, outside of access through a course. The default setting is off.
5. From Resource categories, select any categories to apply to the resource.
6. From Further restrict access by Group? select groups who can access the resource.
7. Save to finish.
The following screenshot shows the access options for a sample resource.
Related Articles
Manage resource files
Intended Audience: Administrators Keep resources up to date Update resource files to ensure your learners have the most recent files. Delete resources that contain outdated or no longer used materials. For resources, Safety Made Simple generates ...Share a resource
Intended Audience: Administrators Provide resources to learners through Resources in primary navigation, or share a direct link, outside of Safety Made Simple. Note: Shareable URLs are not recommended for video streaming use. Shareable resource URLs ...Categories: create and assign searchable categories for your portal
Intended Audience: Administrators Categories let you structure your courses into searchable groups. Create categories once, and use them to organize your resources and catalog. When you create categories they are available across the portal. They're ...Where can I store blank forms?
Intended Audience: Administrators Note: The ability to add documents to the Resources area is only available for Branded Portals (not Value Portals). Admin users have the ability to provide blank forms such as Confined Space Entry Permits, Hot Work ...Your portal's reusable modules
Intended Audience: Admins, Instructors, Managers with Instructor permissions Create content once, use it across multiple courses Reuse modules and build courses from existing content, through the portal library. When you create a course, Safety Made ...